User Guide: Create Asset, Deploy Vault, Initialize Vault
Prerequisites
-
Install and unlock the Freighter wallet.
-
Connect your wallet in the app (switching accounts will reload the page).
-
Ensure your wallet has enough XLM for fees.
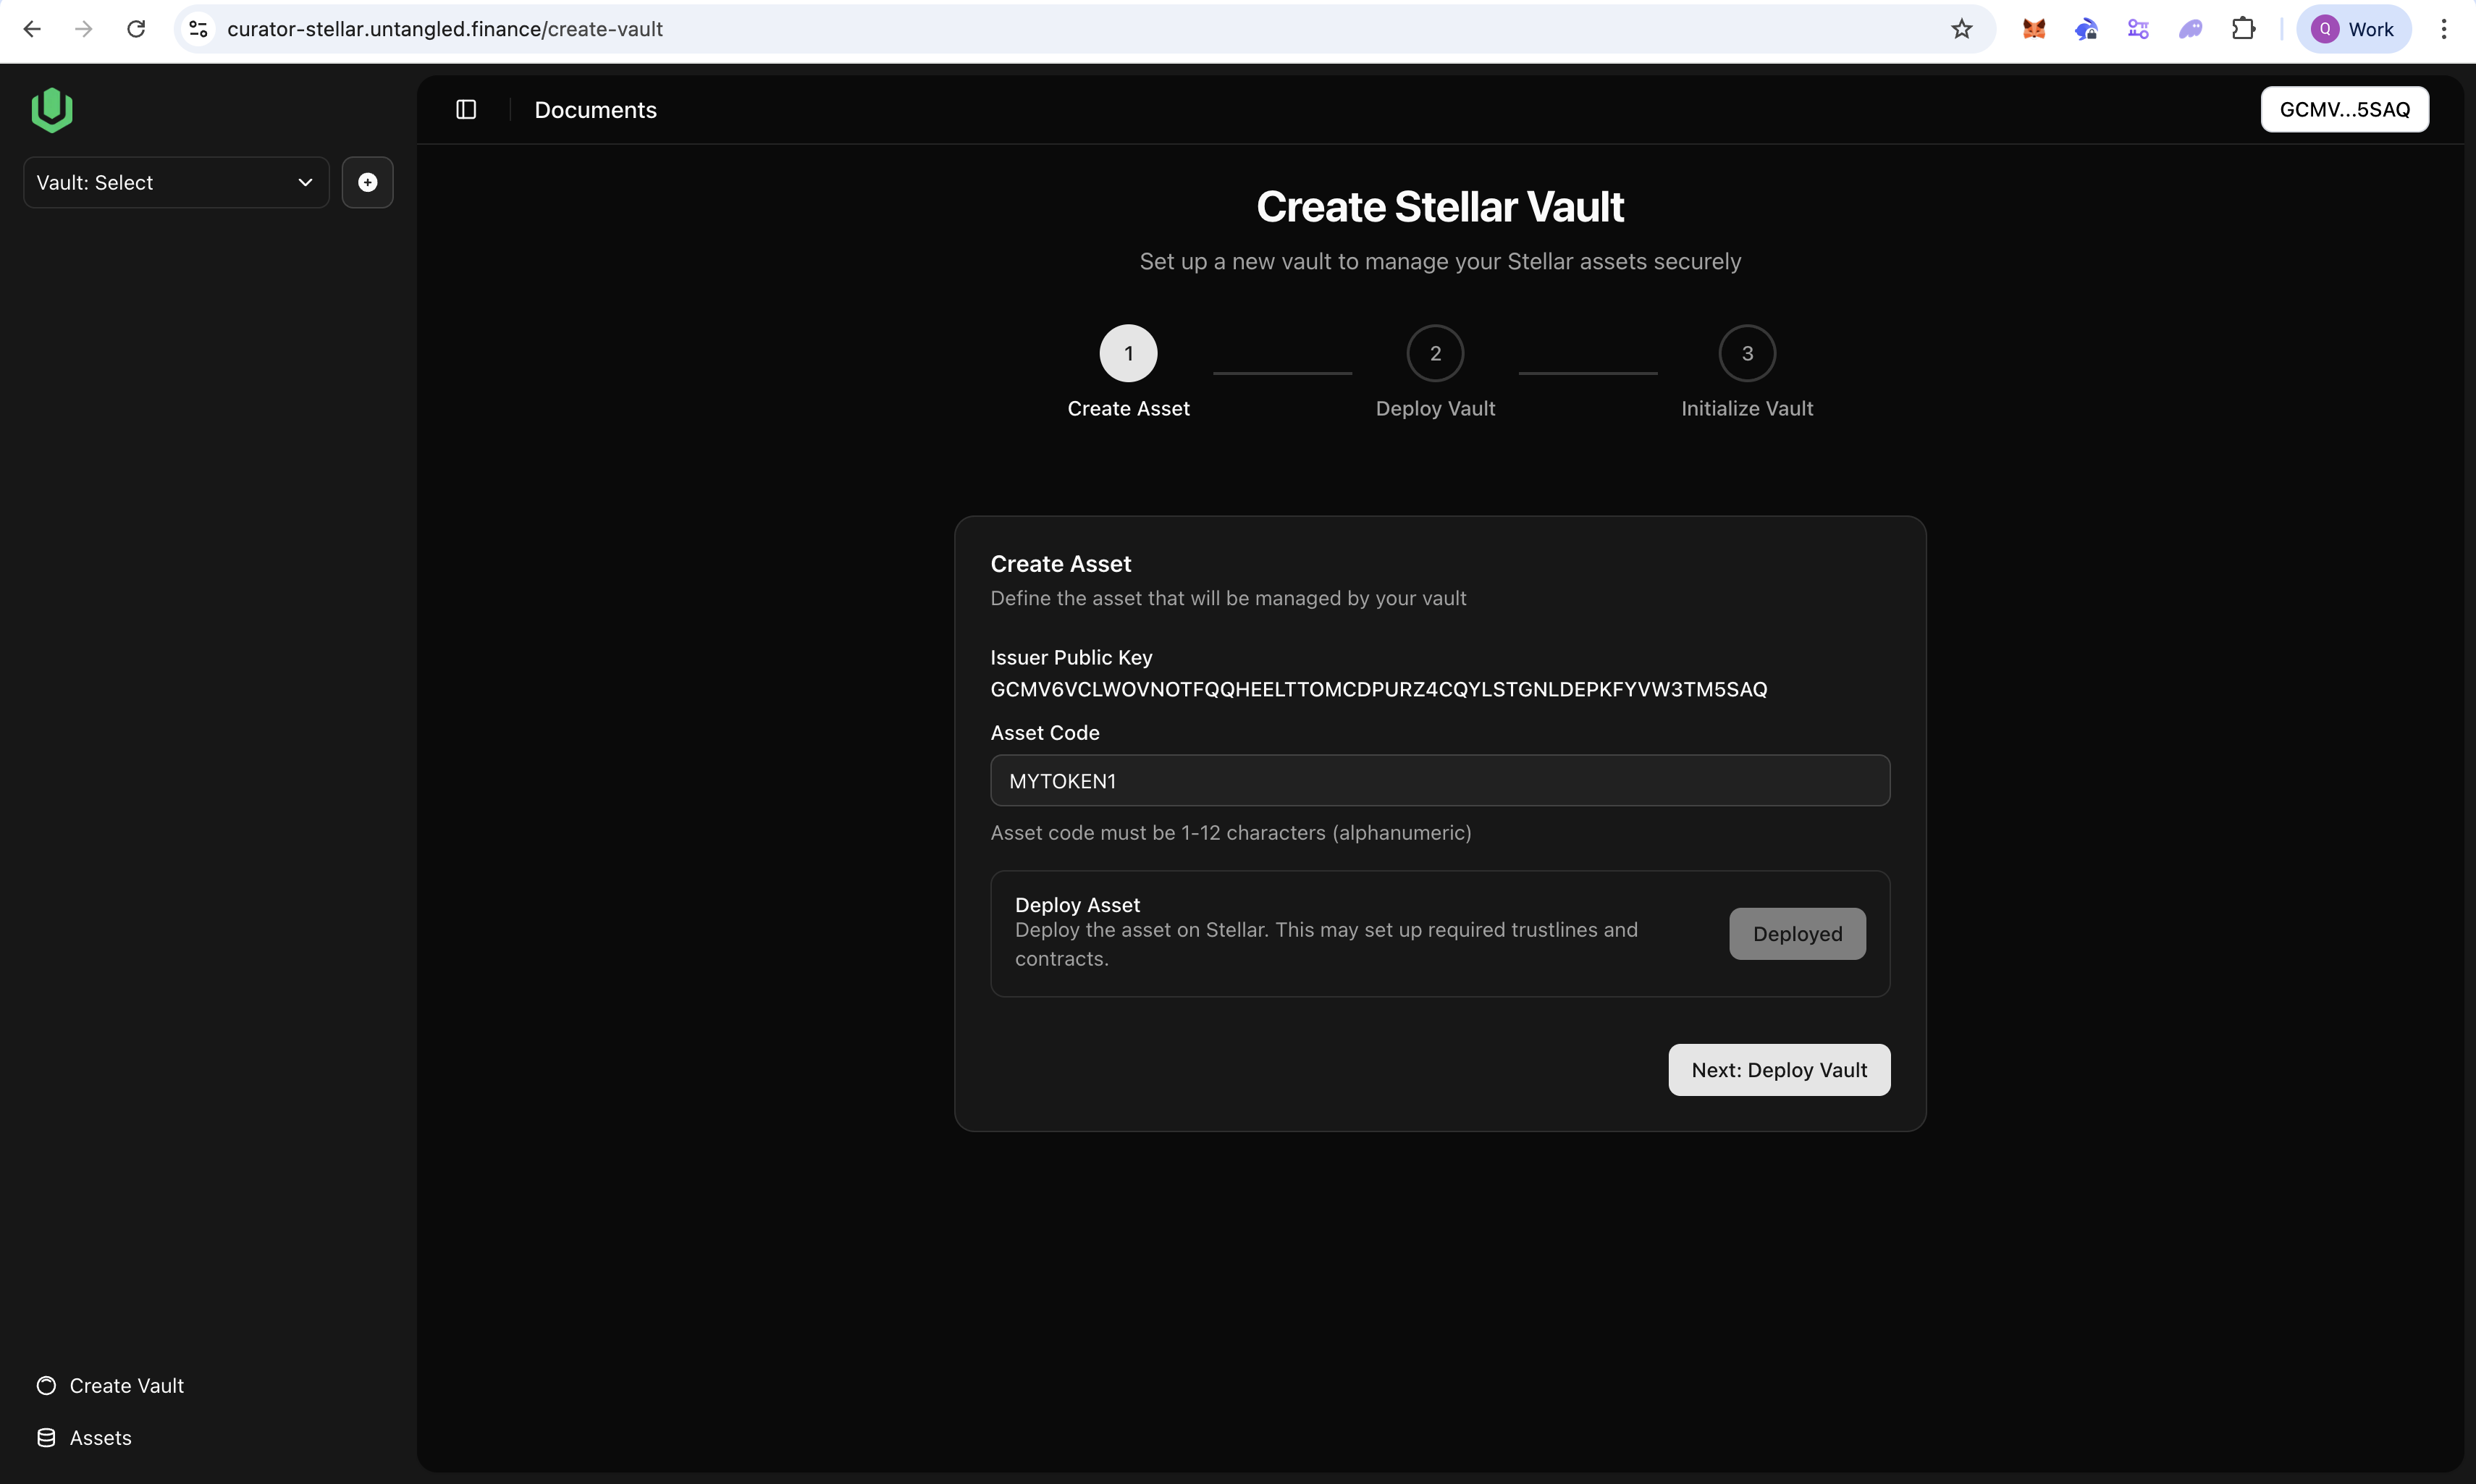
Step 1 — Create Asset
-
Issuer: Auto-filled from your connected wallet.
-
Asset Code: Enter 1–12 uppercase alphanumeric characters (e.g., MYTOKEN).
-
Click “Deploy Asset”.
- The app deploys the SAC contract for your asset.
- On success, you’ll see “Deployed” and the Contract Address (saved as
assetAddress).
-
Click “Next”.
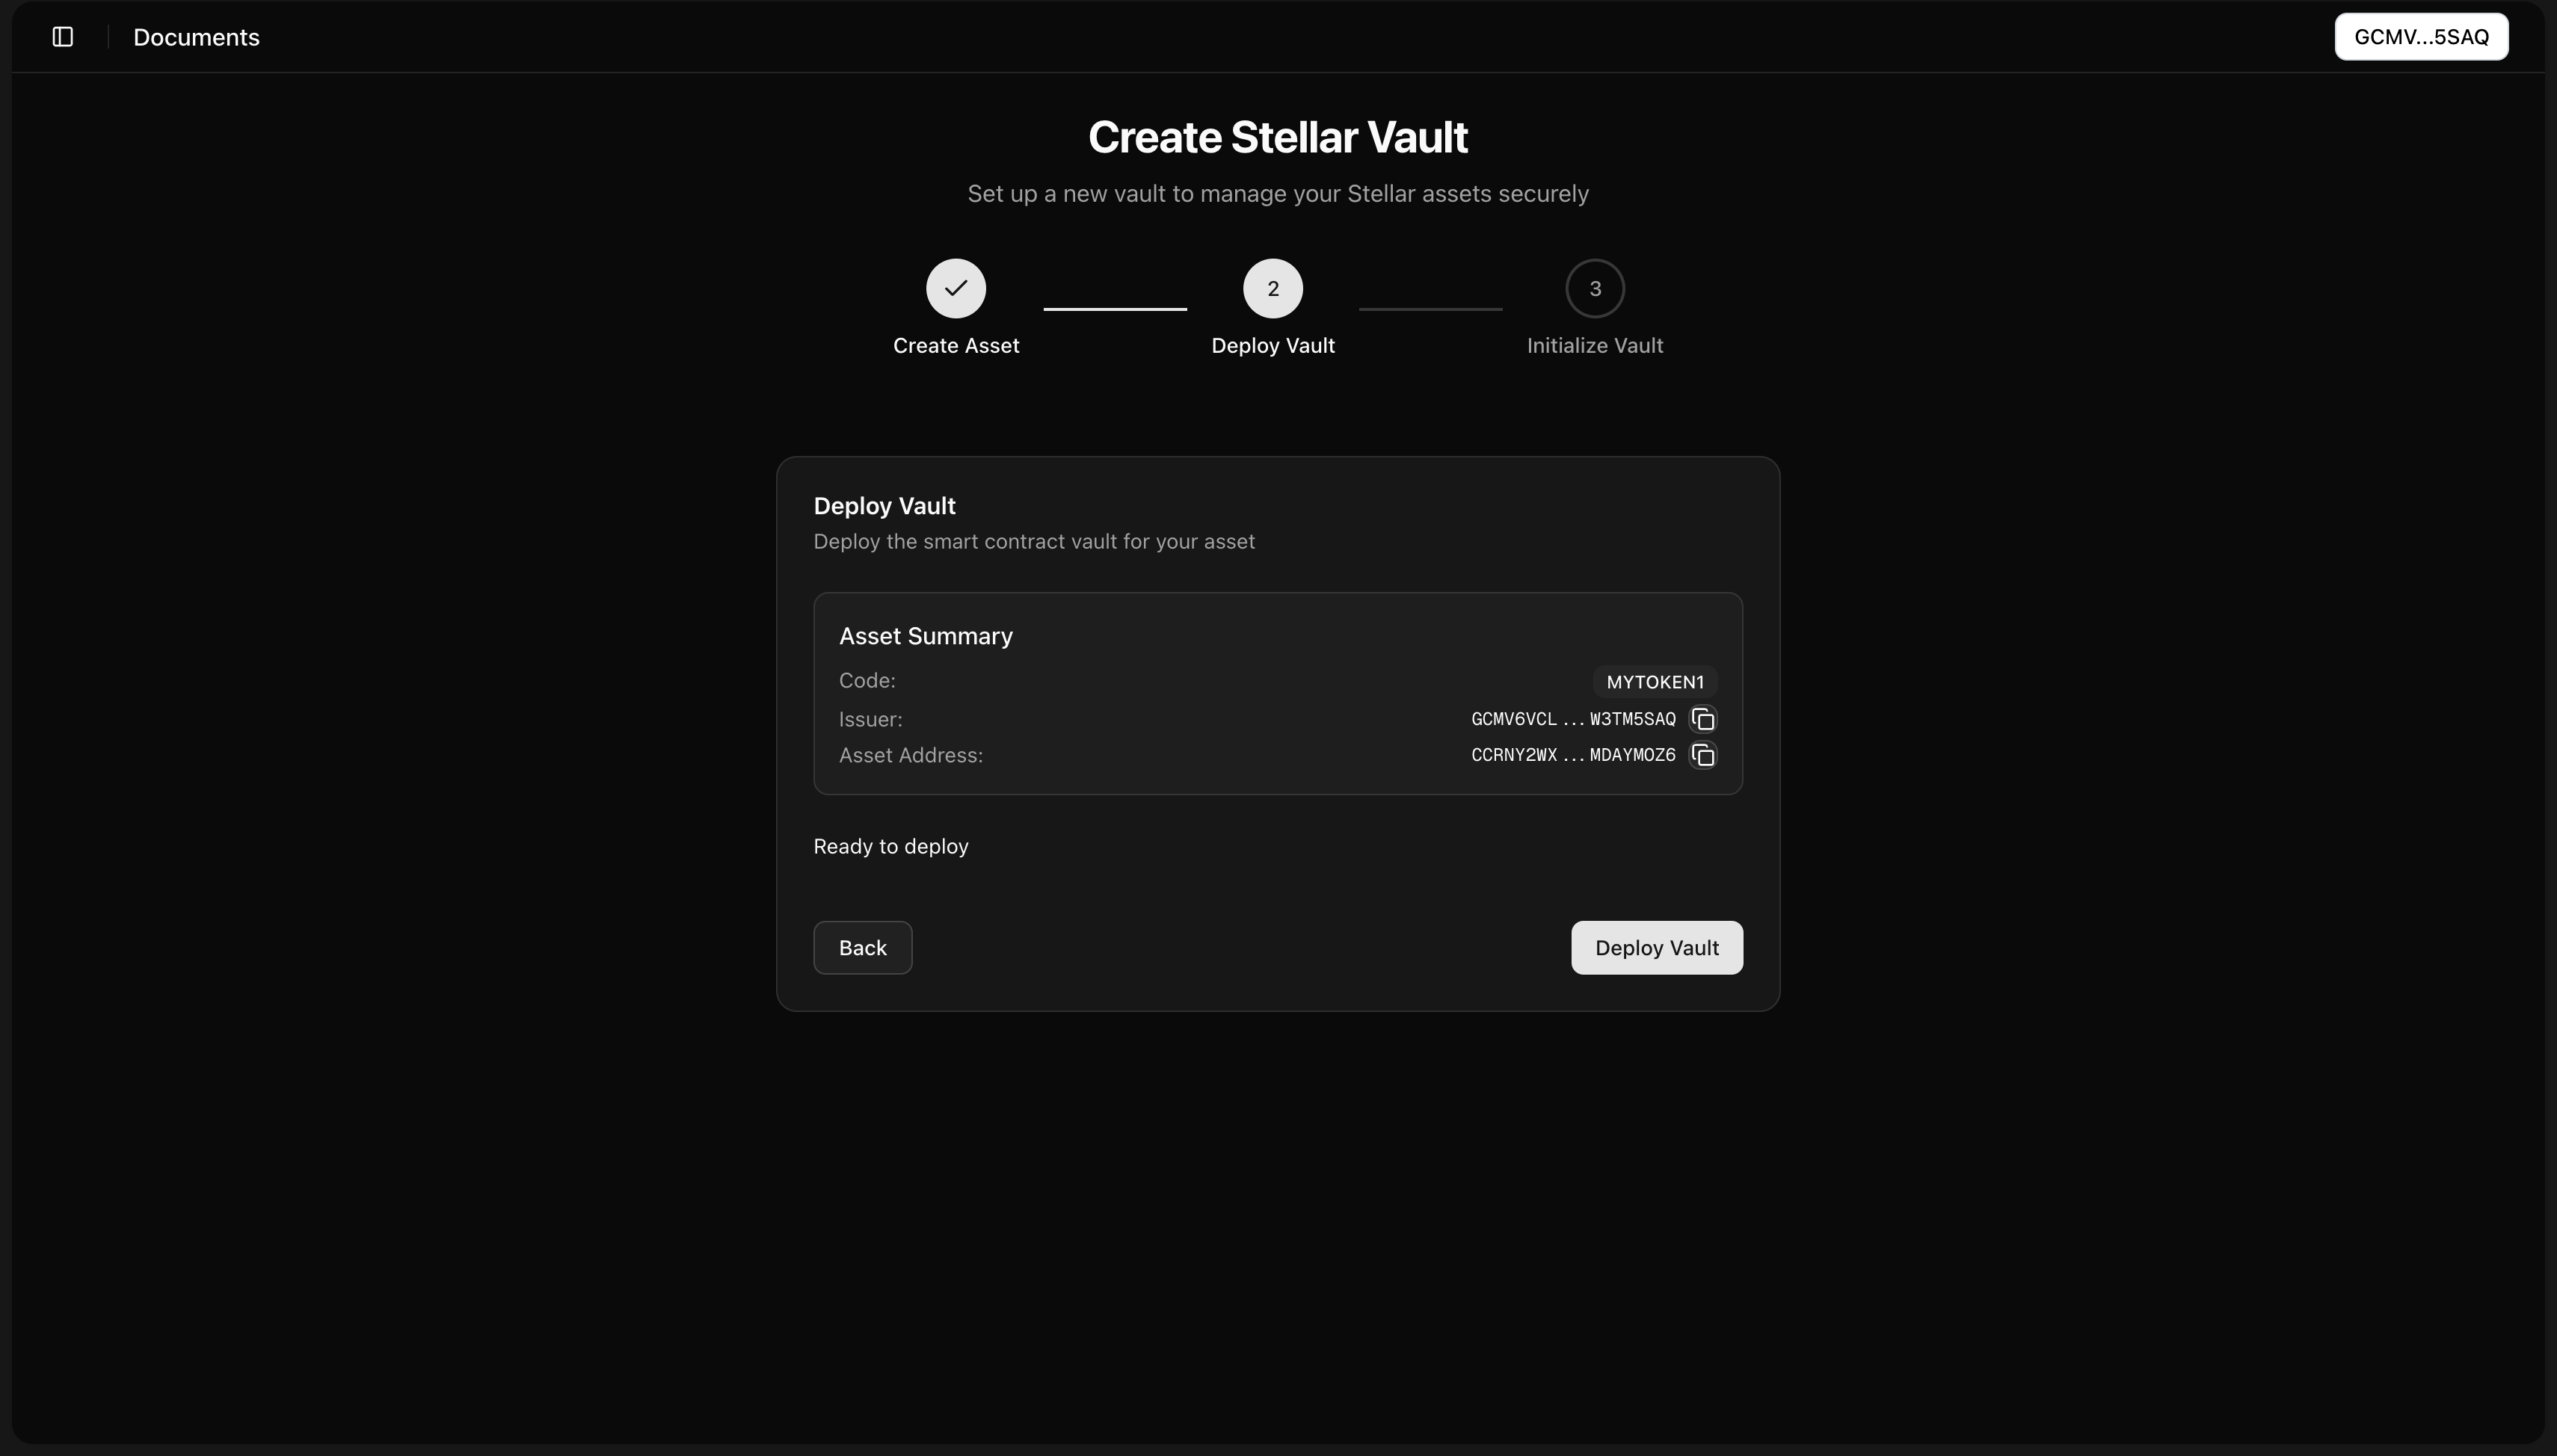
Step 2 — Deploy Vault
-
Review summary: Code, Issuer, and Asset Address (copy buttons available).
-
Click “Deploy Vault”.
- On success, the vault contract address is saved as
vaultAddress.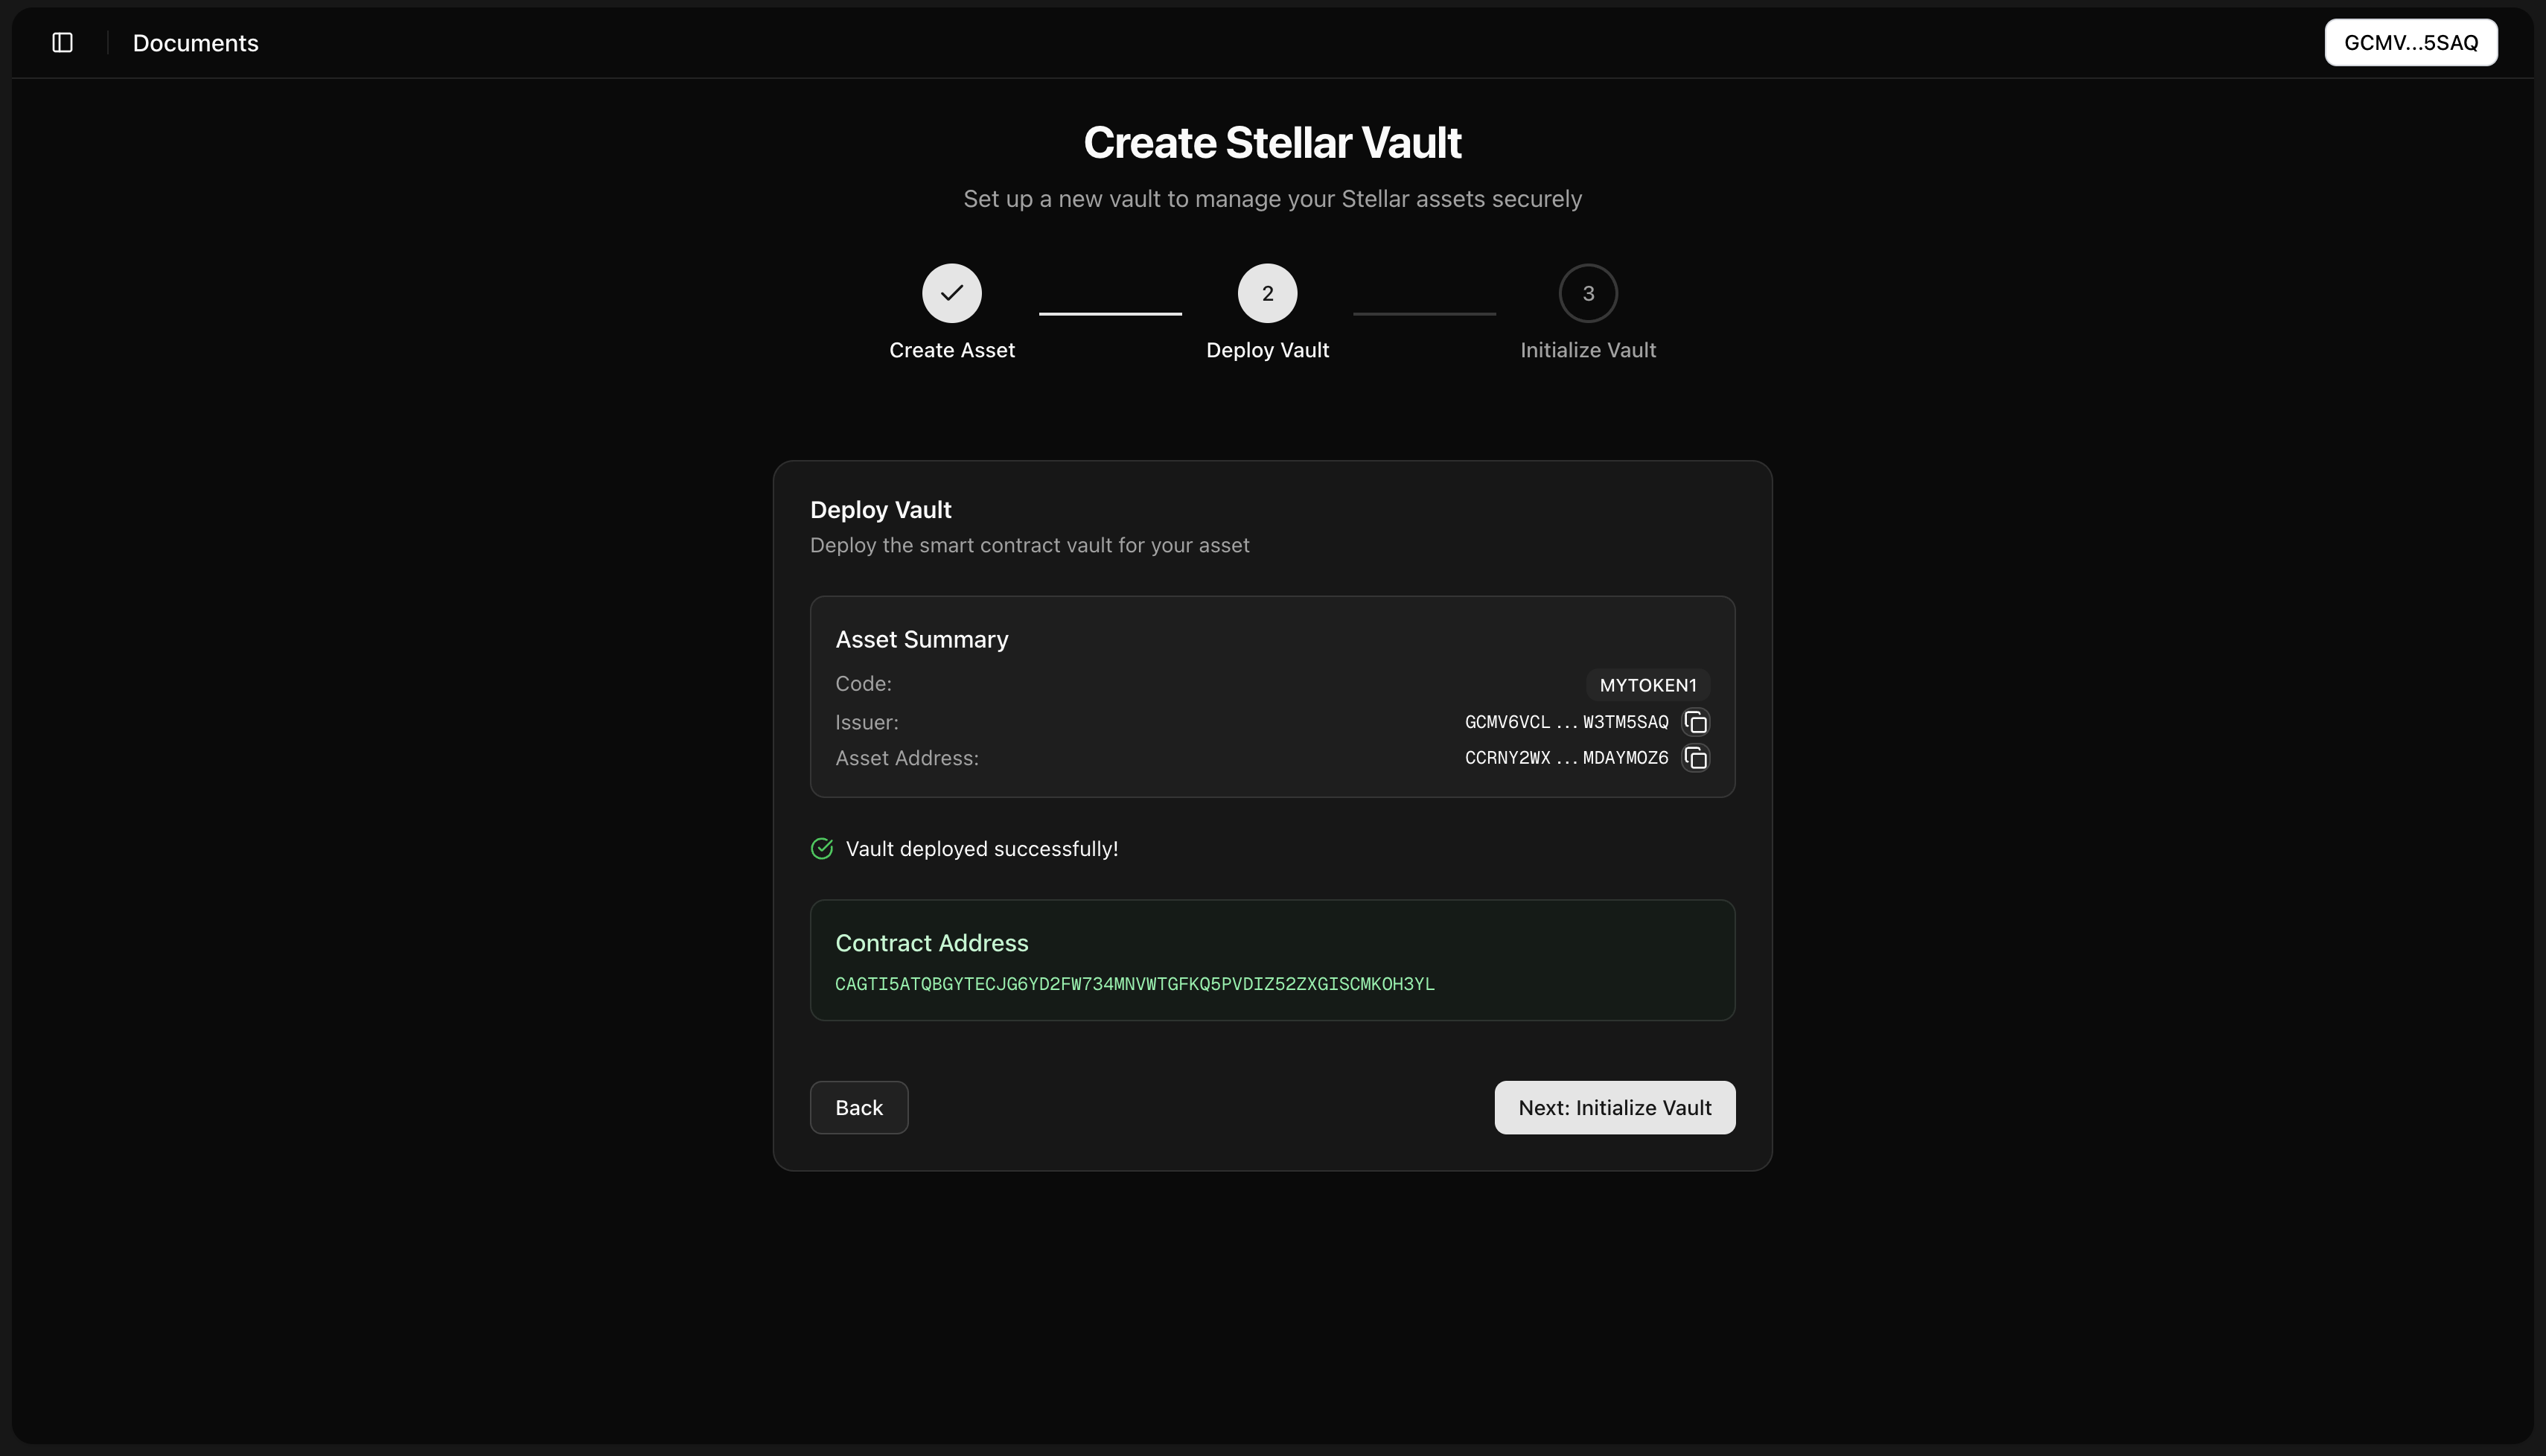
- On success, the vault contract address is saved as
-
Click “Next”.
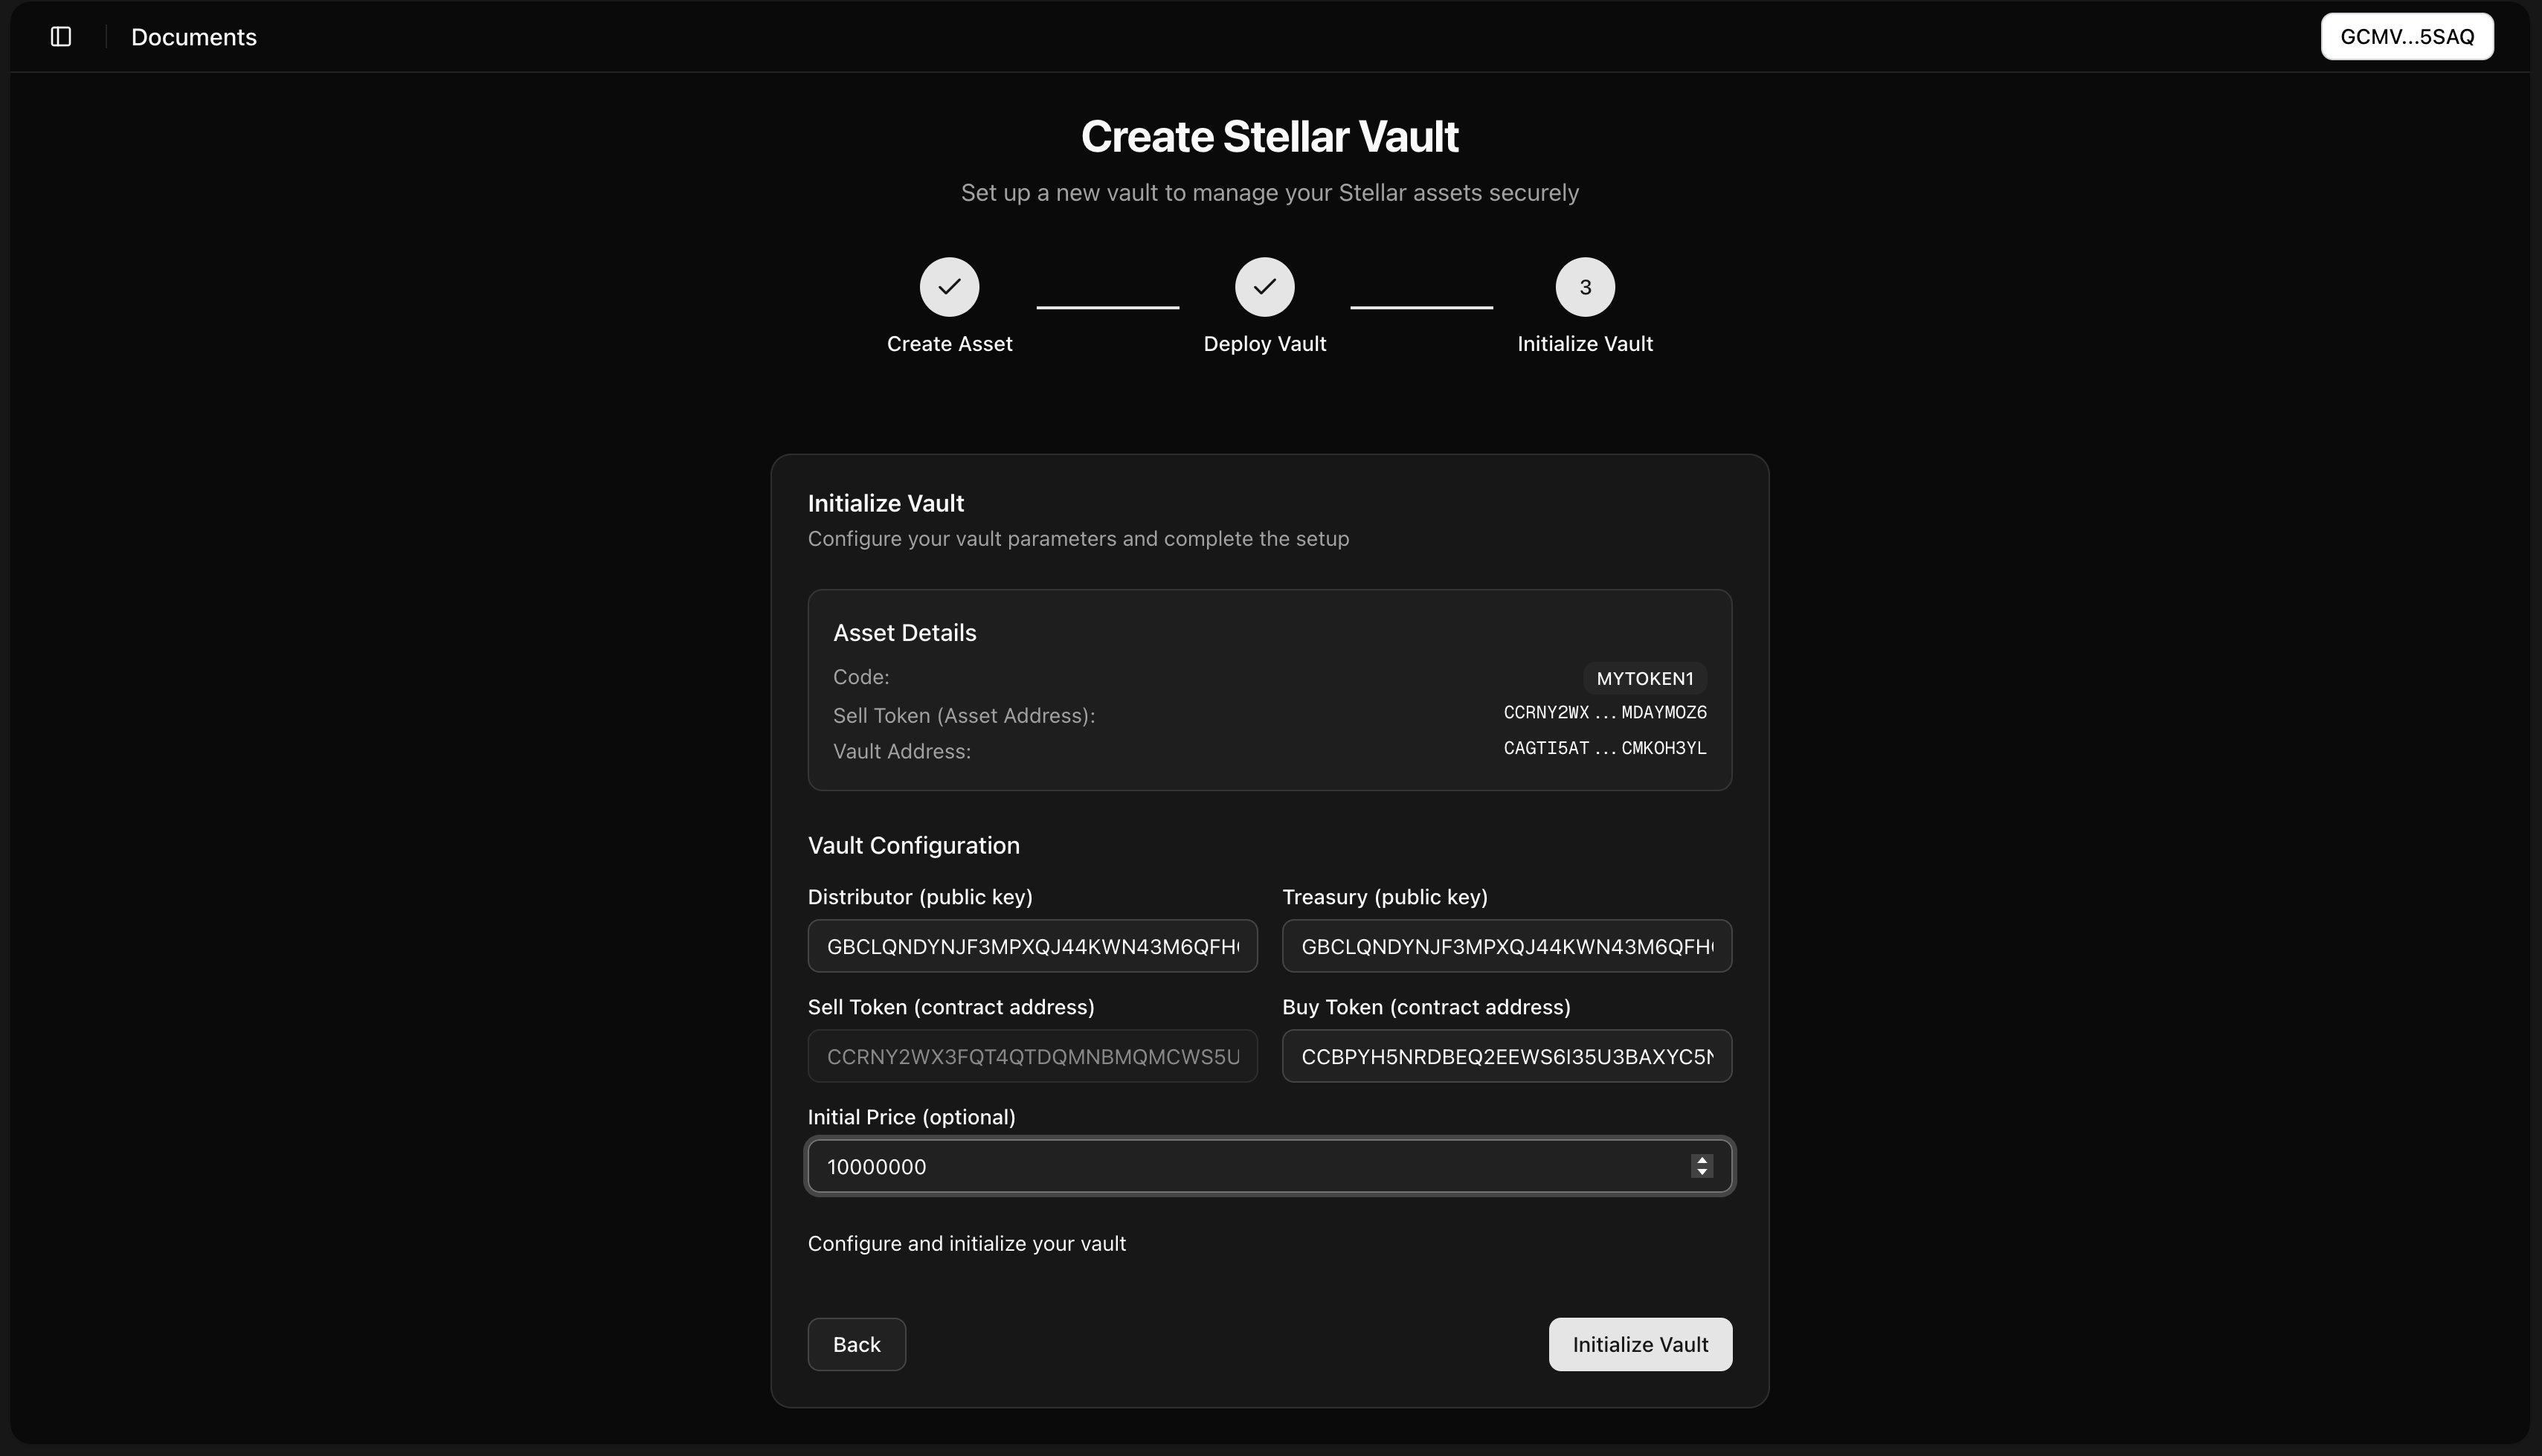
Step 3 — Initialize Vault
-
Distributor: G… public key responsible for distributions.
-
Treasury: G… public key for vault treasury.
-
Sell Token: Contract address of the shares token you have just created.
-
Buy Token: Contract address of the asset that you accept to be underlying.
-
Initial Price (optional): The initial price for your shares (7 decimals)
-
Click “Initialize”.
- Watch status: Initializing → Success/Error.
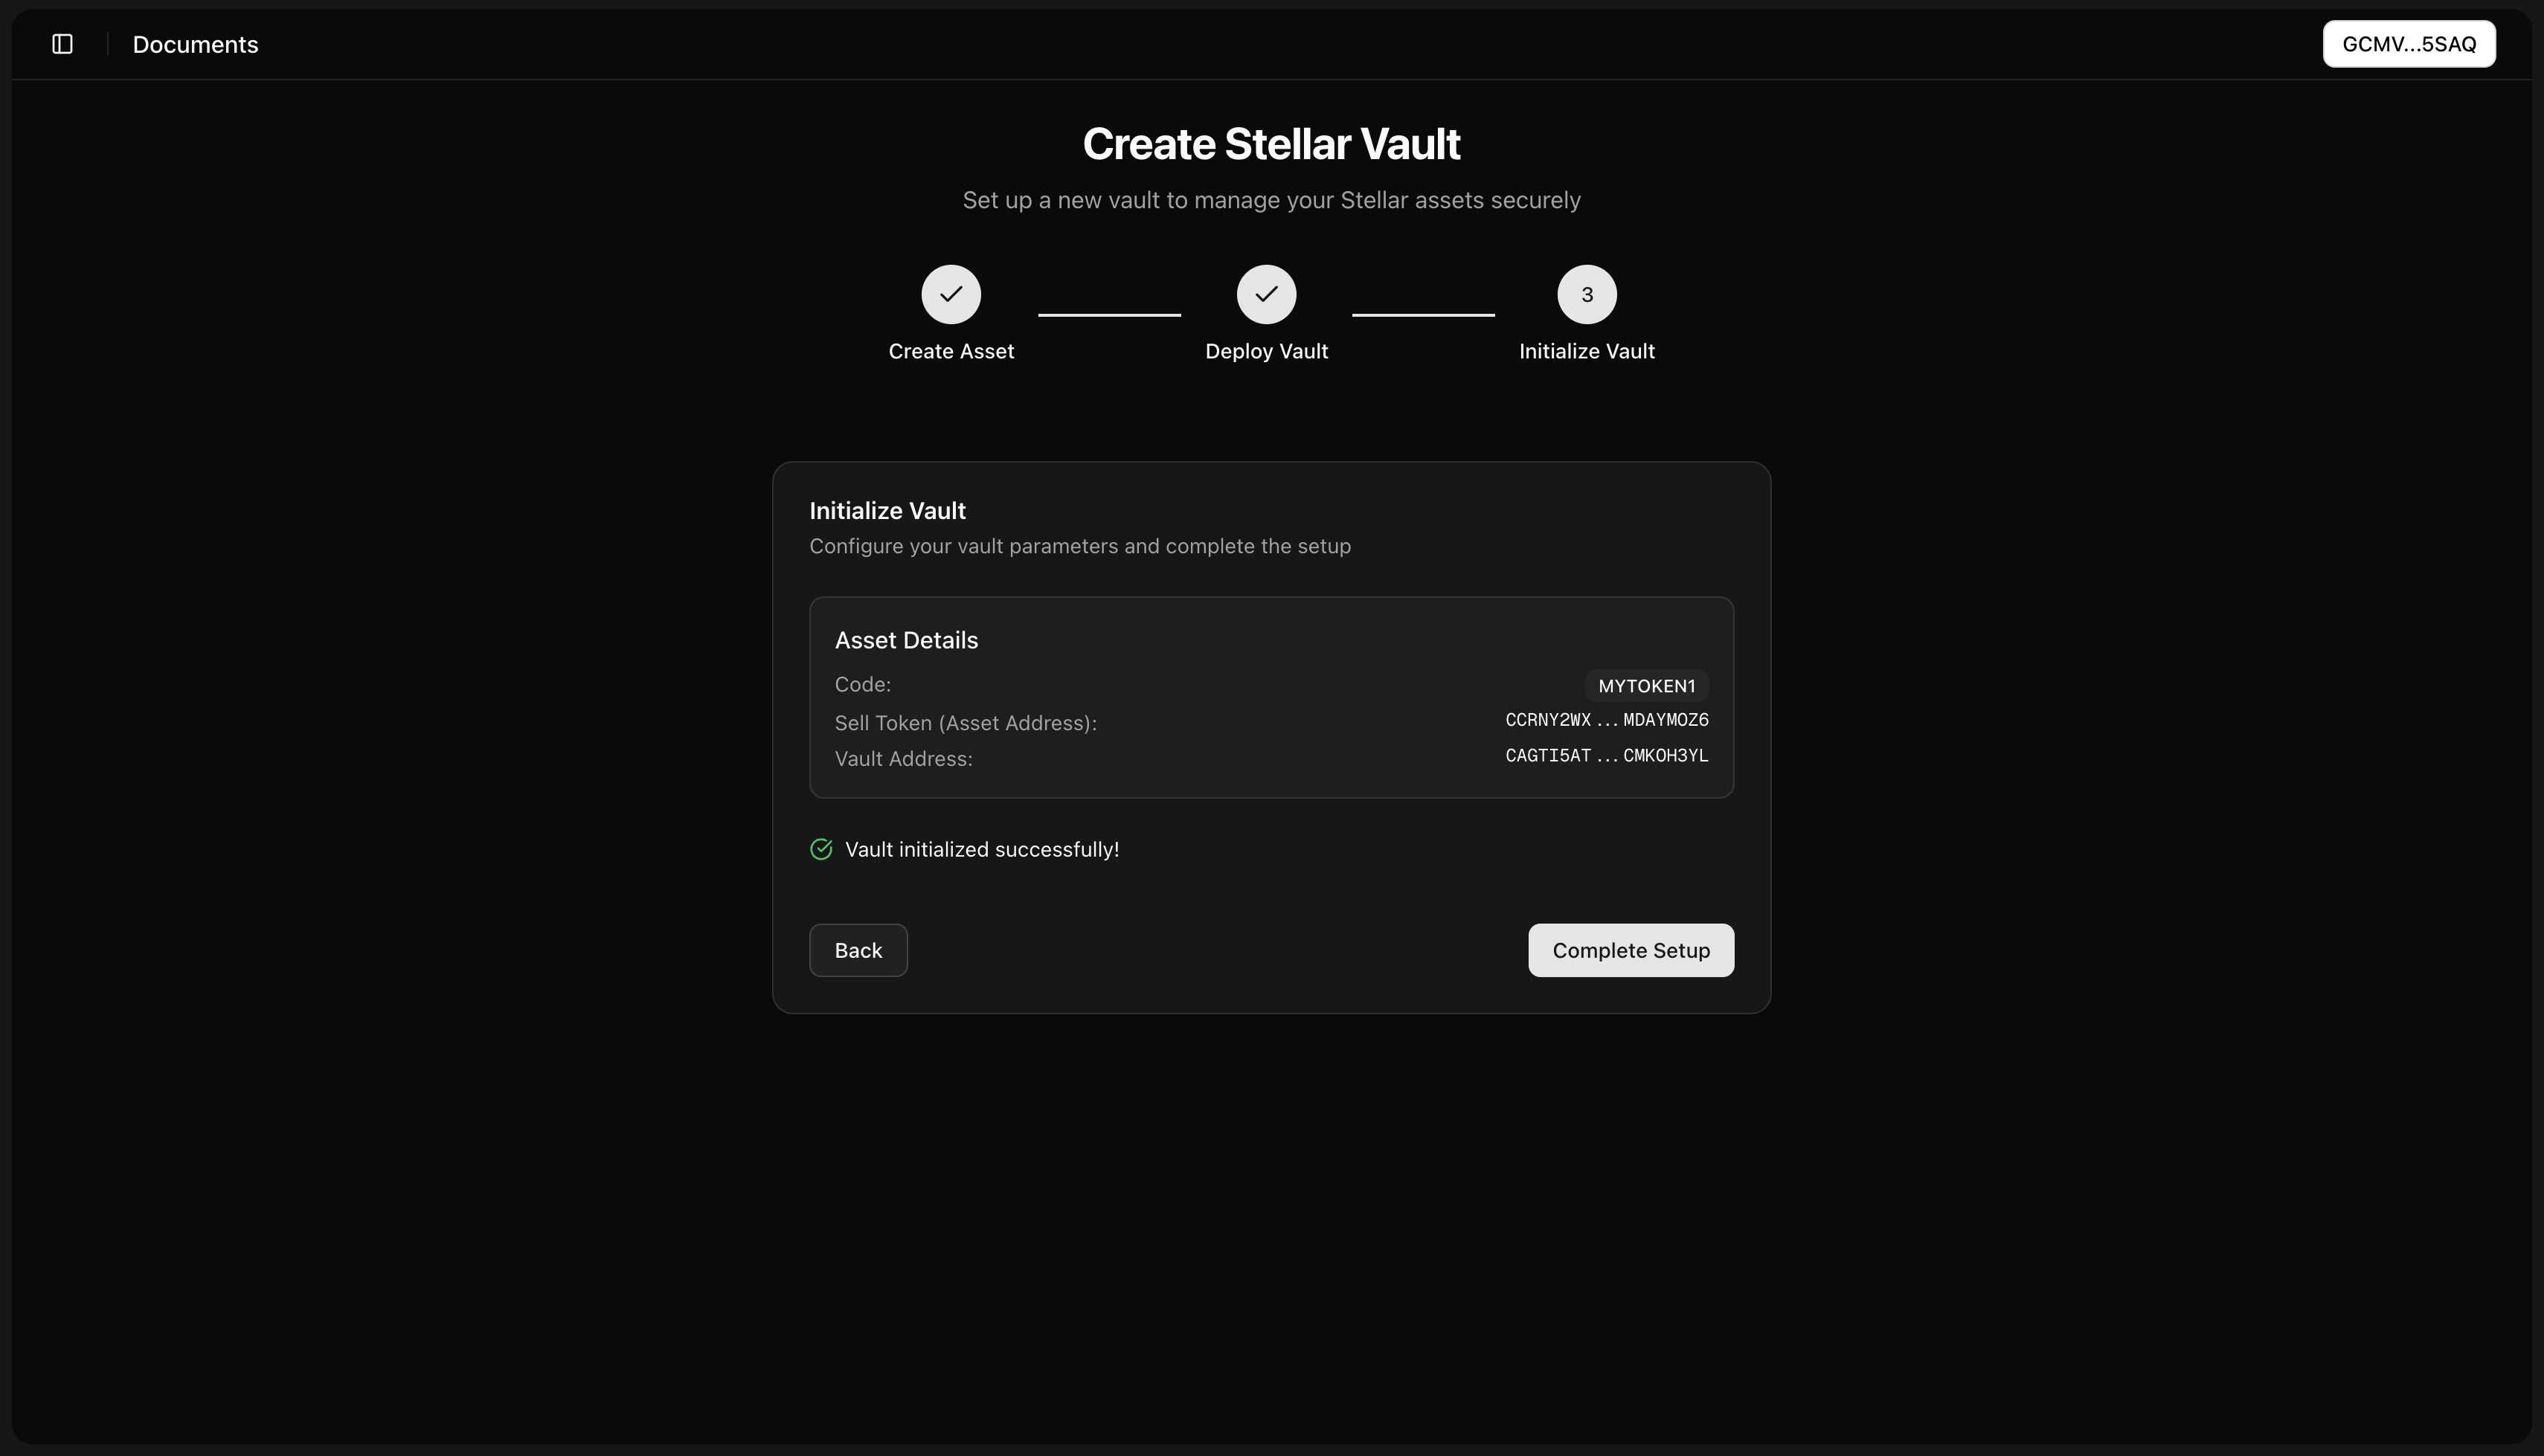
- Watch status: Initializing → Success/Error.
-
Continue or complete the flow after success.
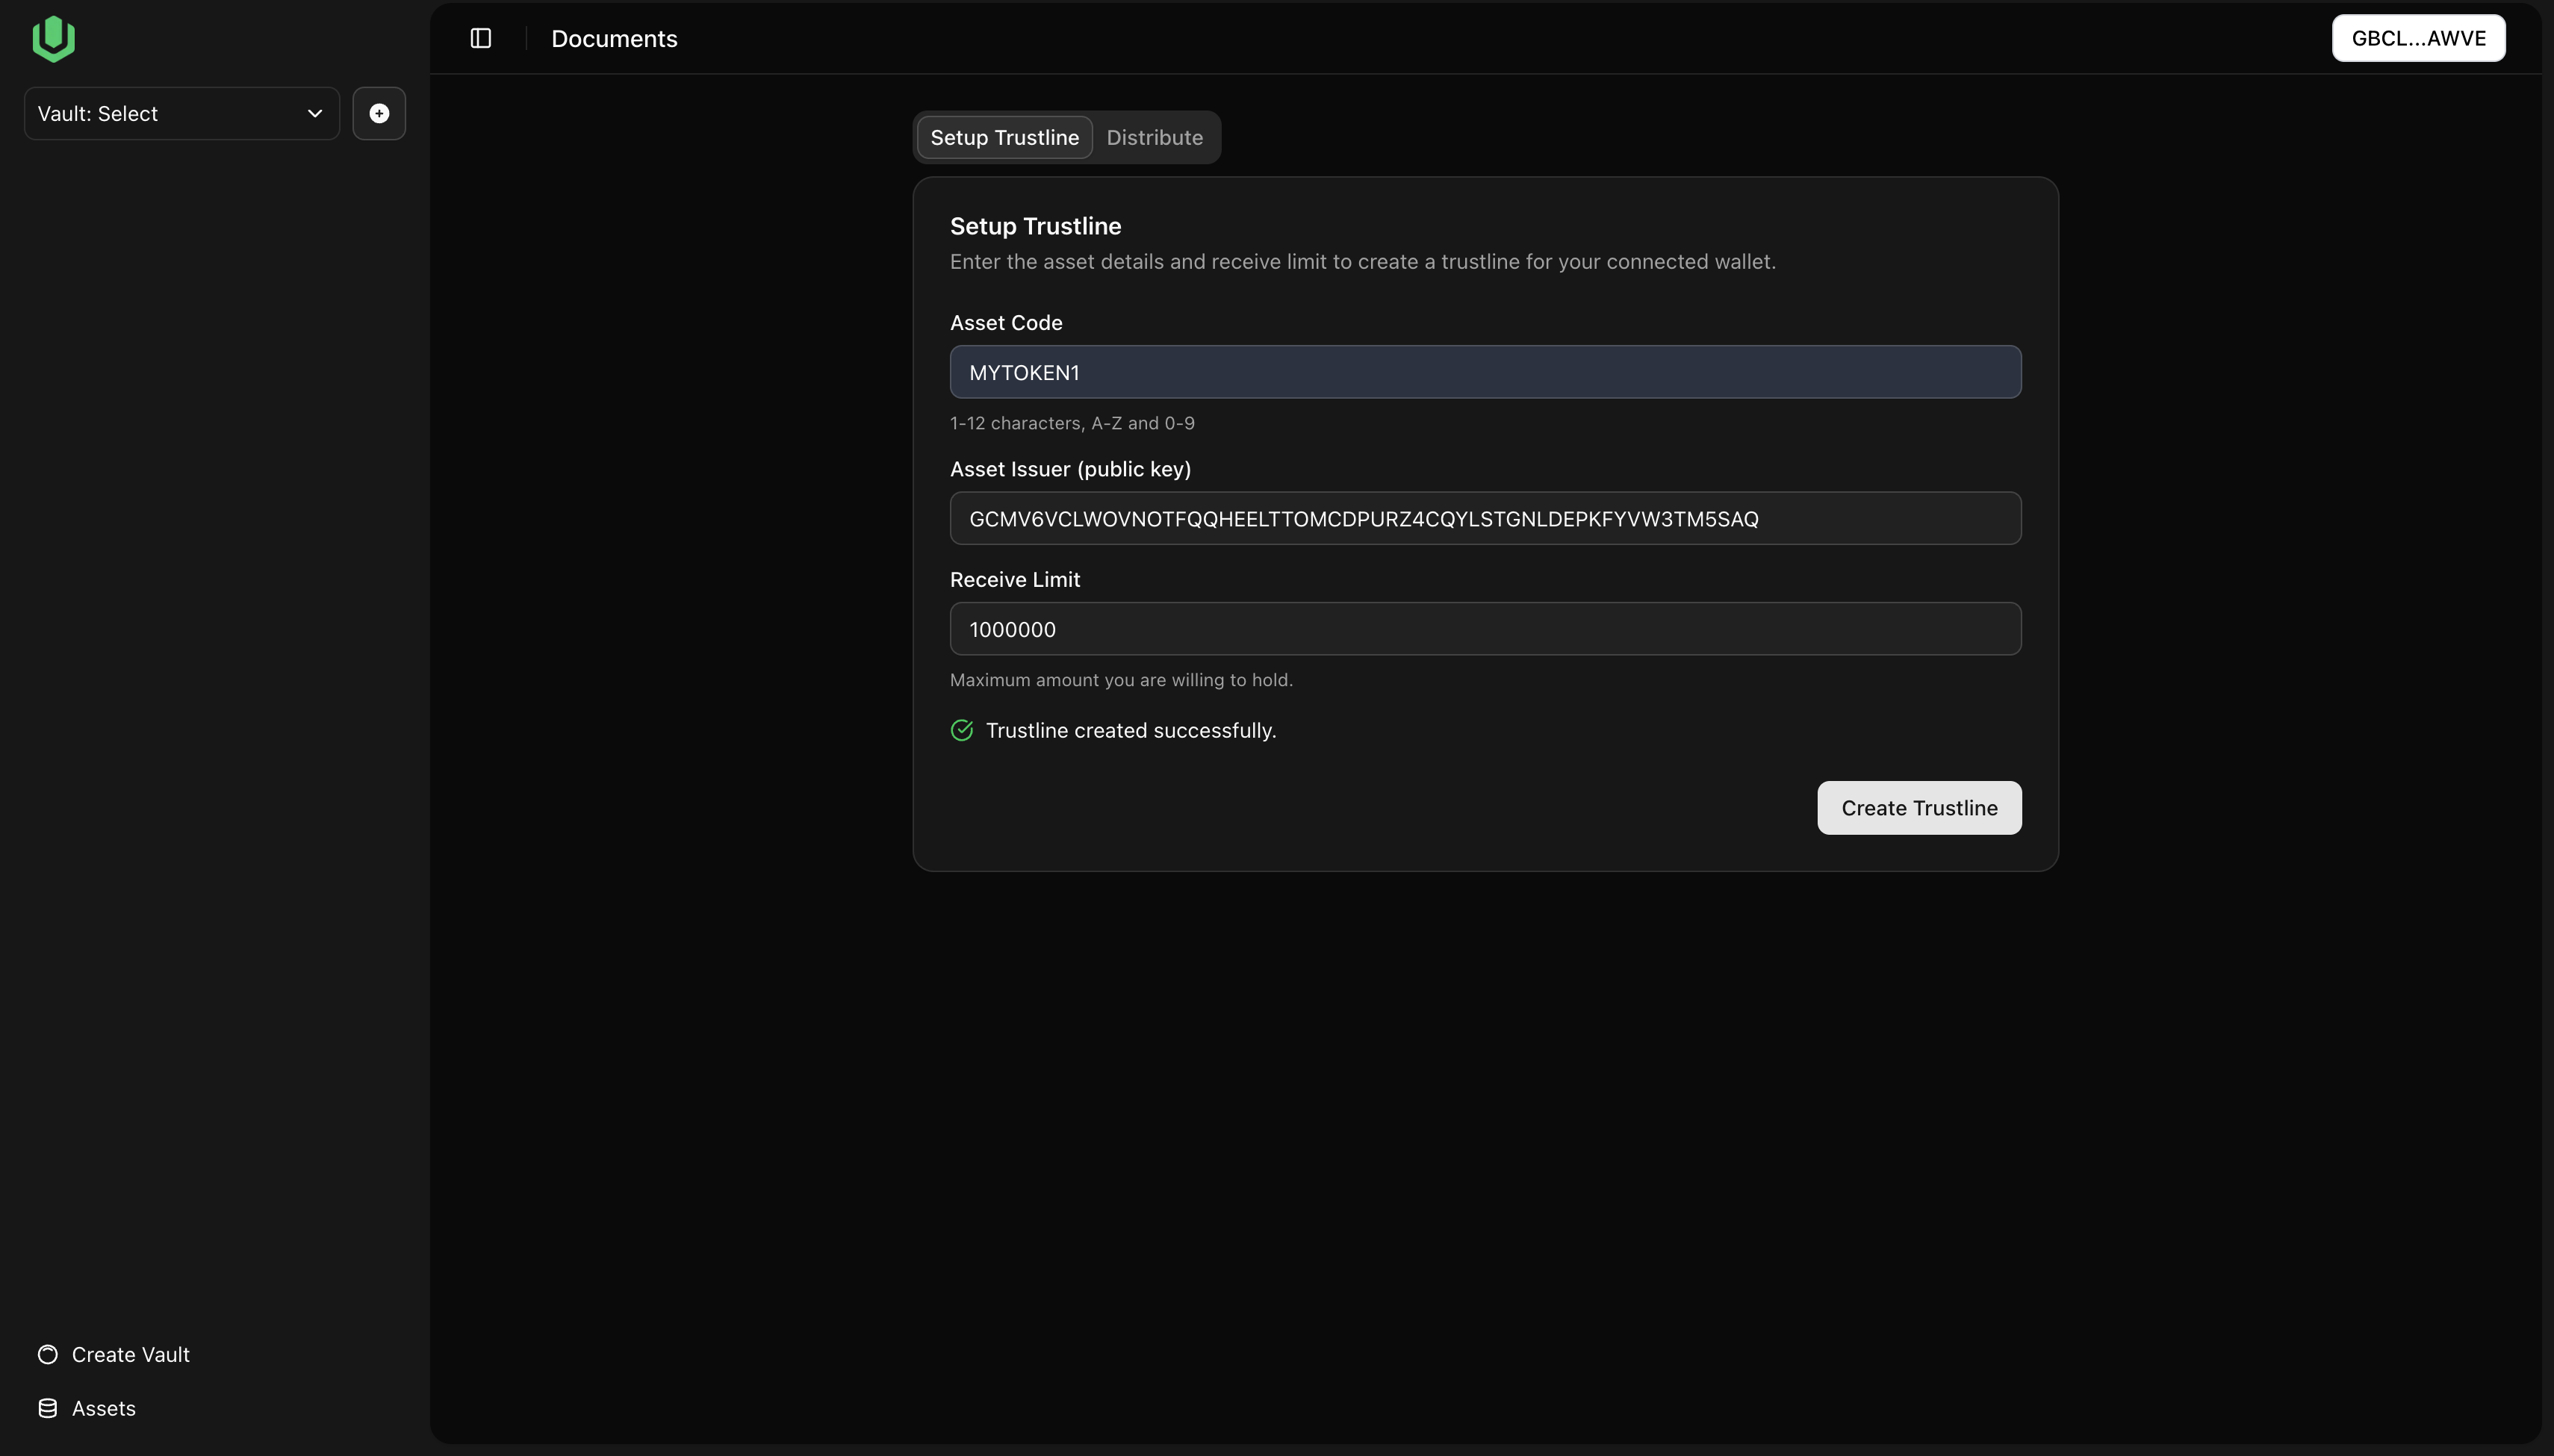
Assets Page
-
Setup Trustline: Enter Asset Code, Asset Issuer, Receive Limit to add a trustline.
-
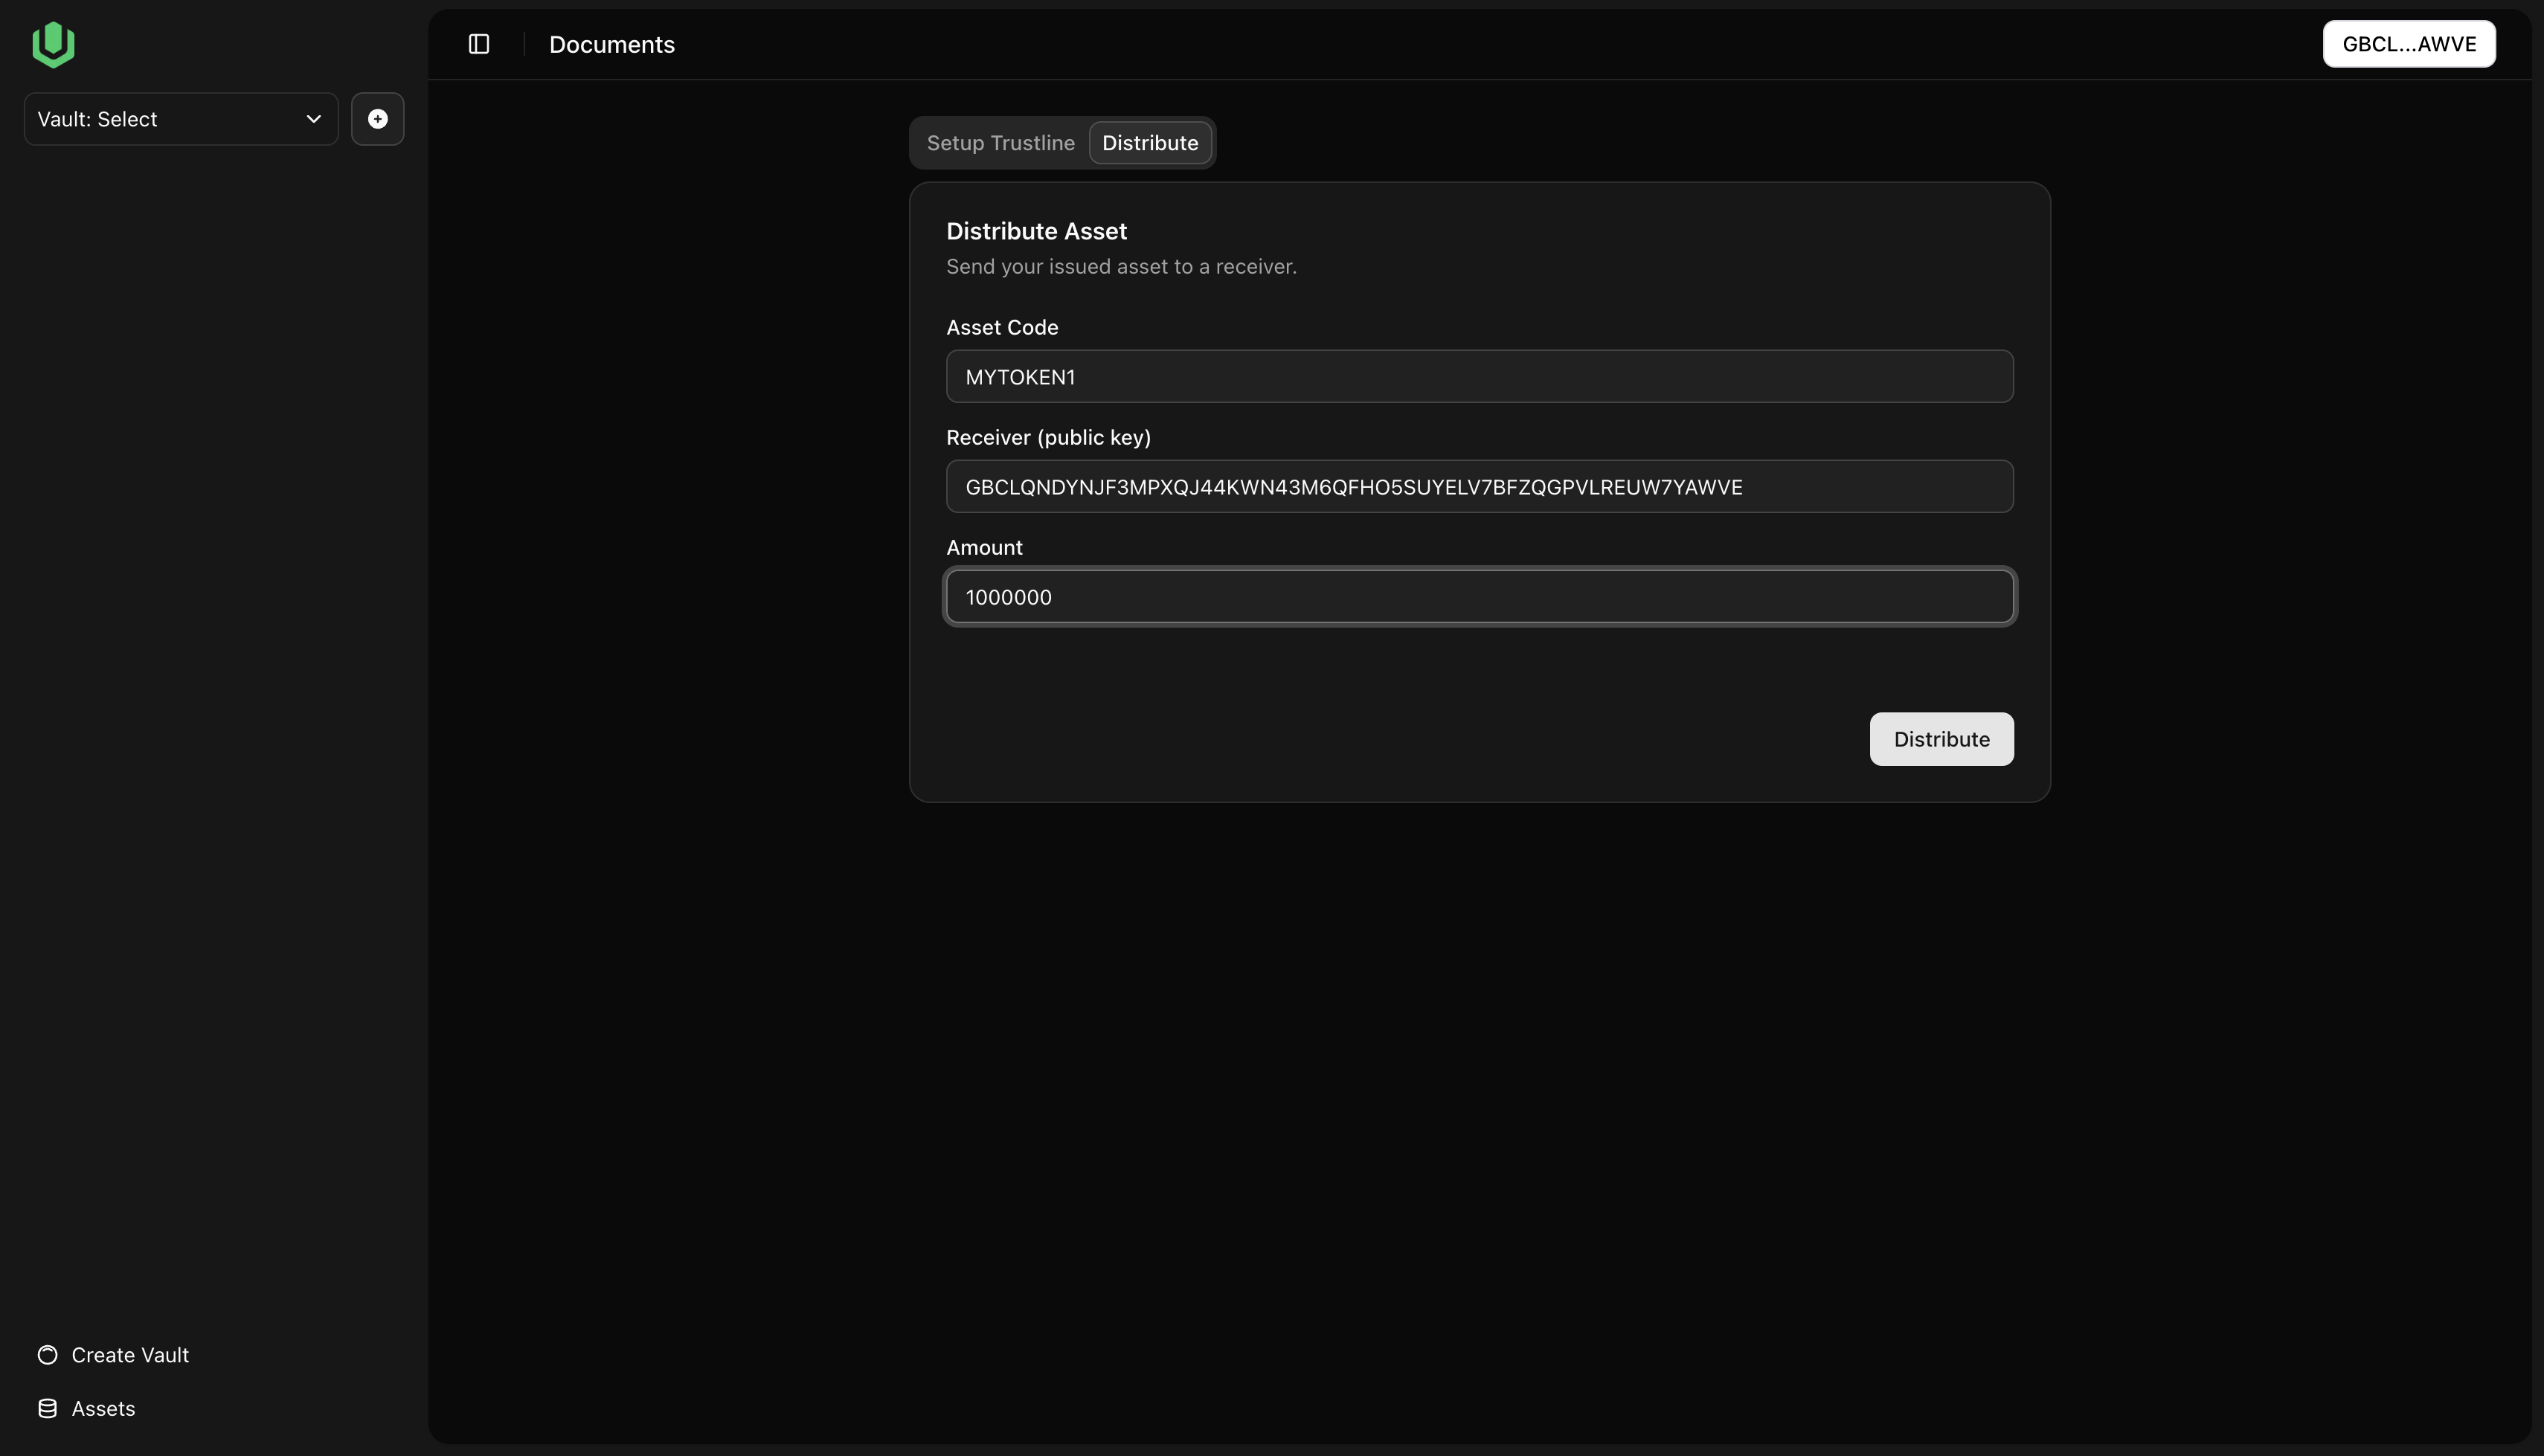
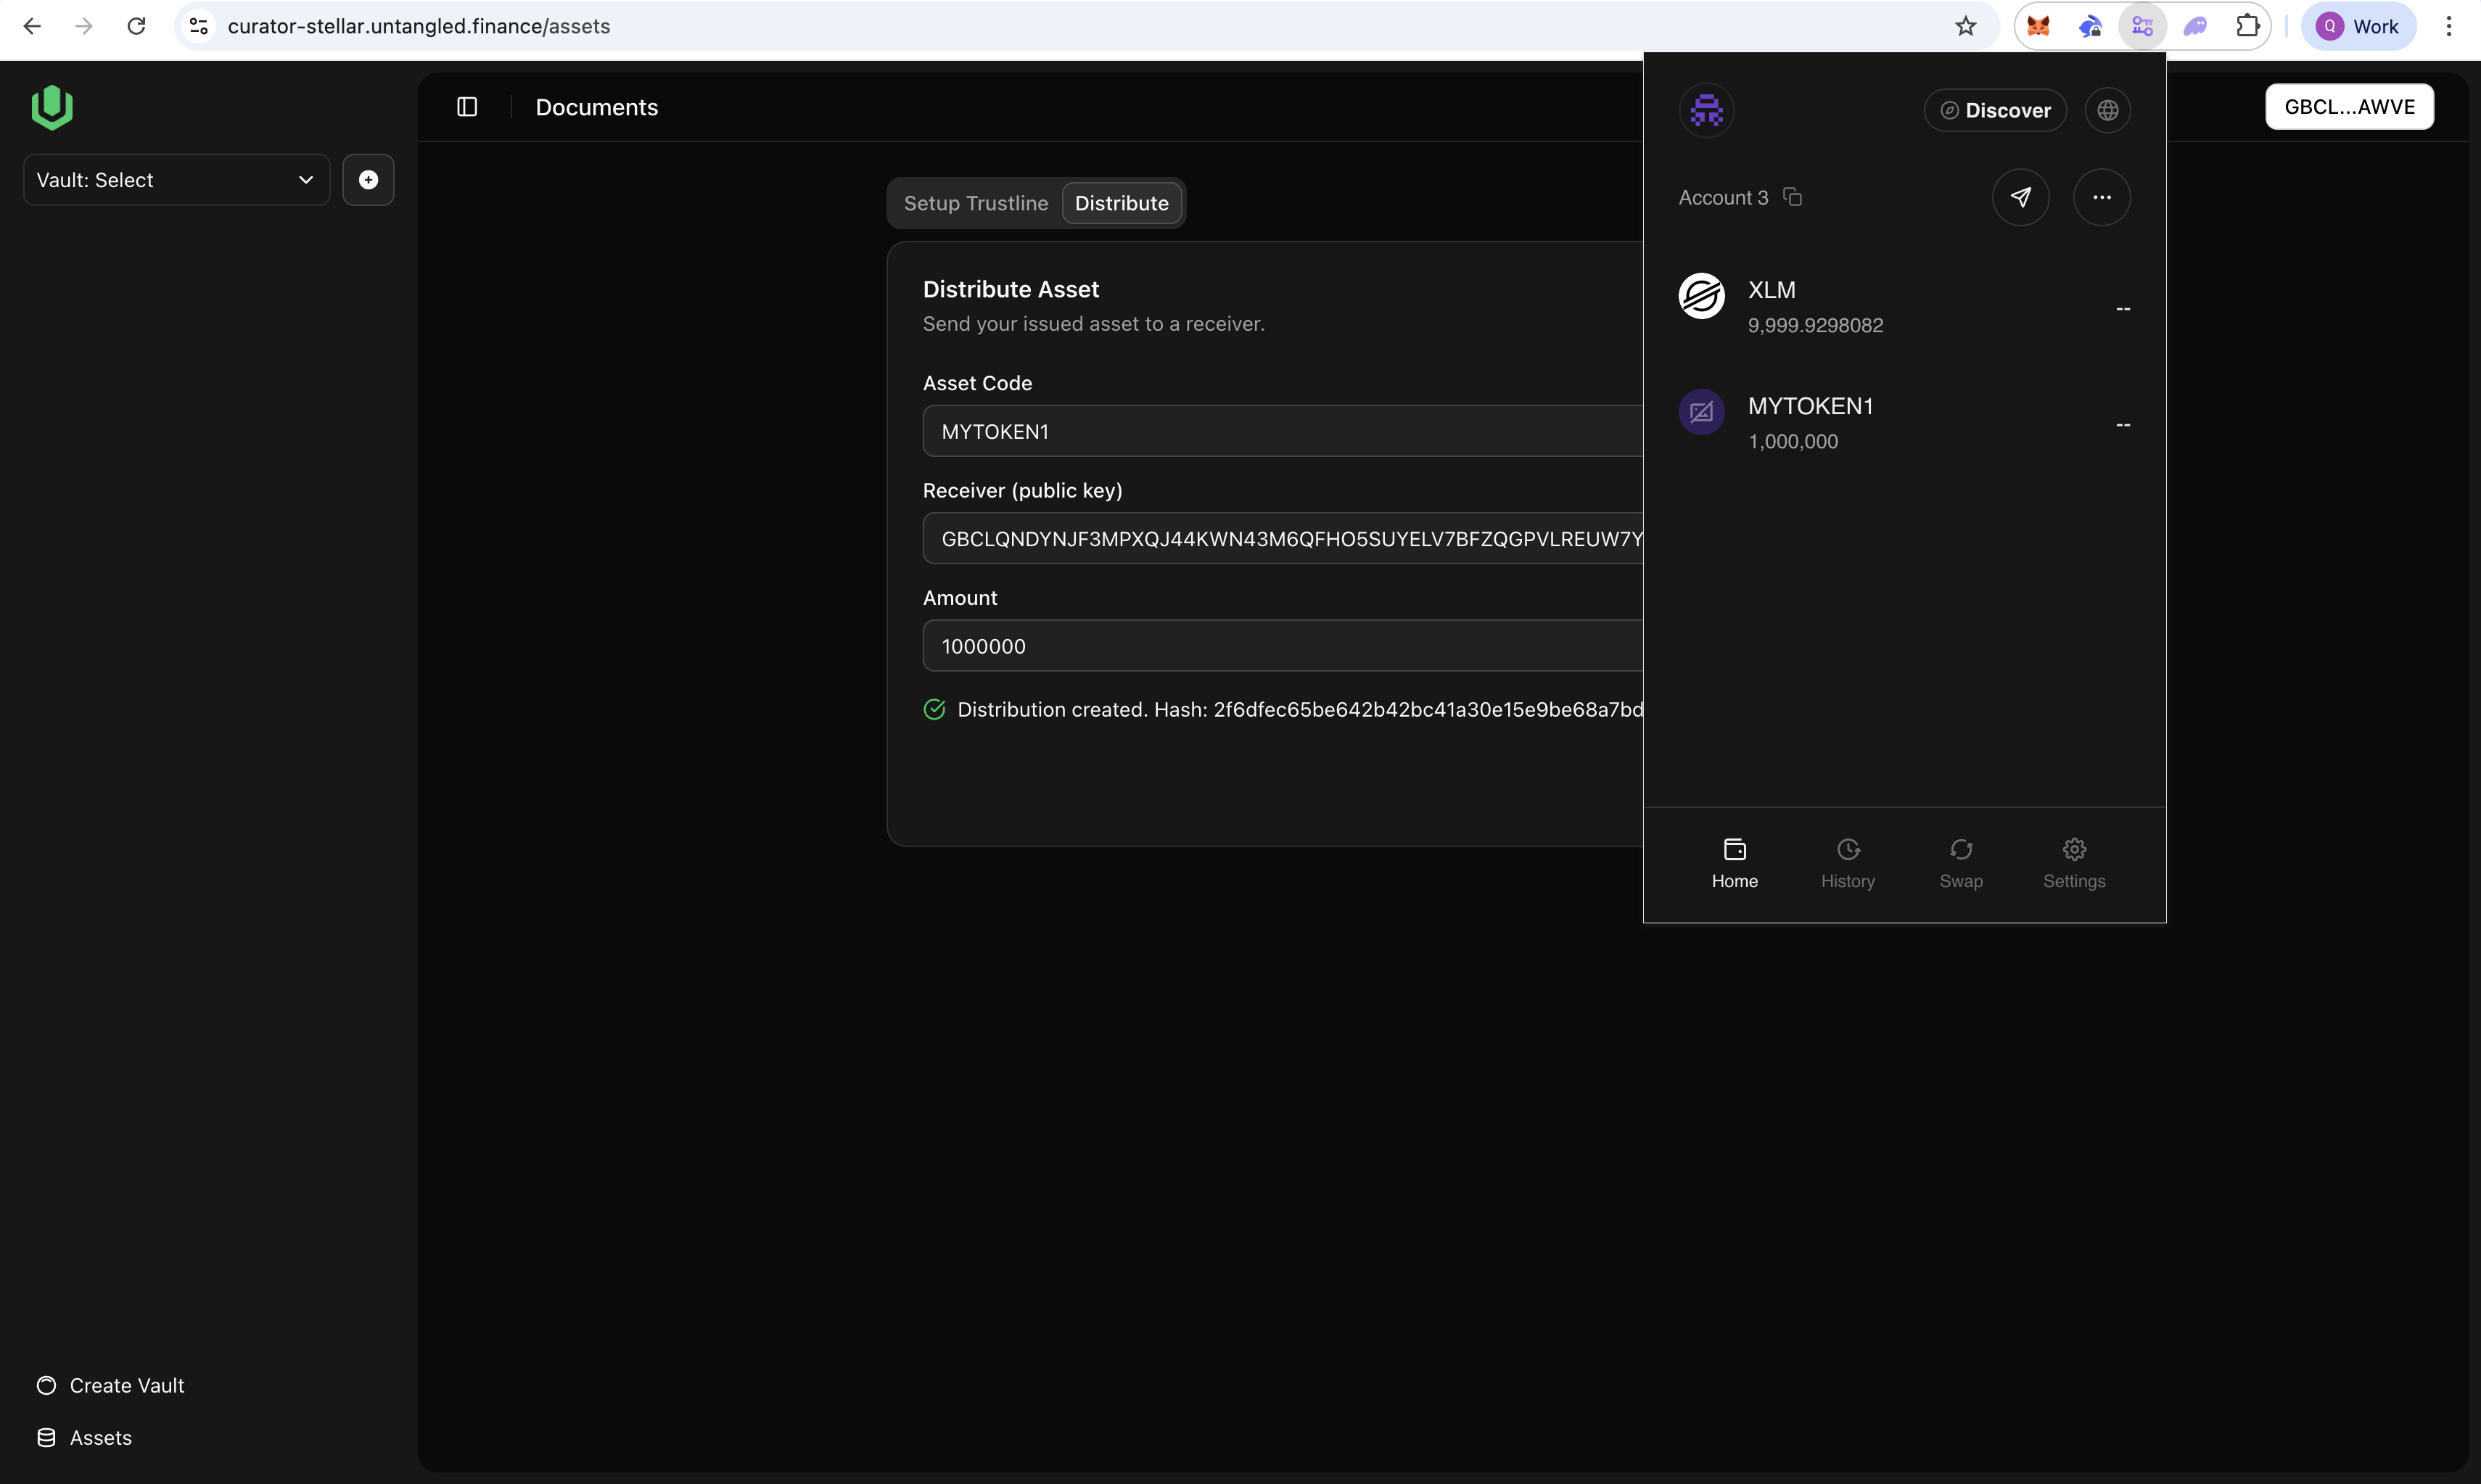
Distribute: Enter Asset Code, Receiver (public key), Amount to send tokens.
-
On success, you will see the token in the Distributor account
Tips and Troubleshooting
- Receivers must have a trustline for your asset before receiving it.
- If deployment/initialization fails, check wallet connection, network, and balance; then retry.
- Save both addresses:
- Asset Contract Address:
assetAddress - Vault Contract Address
- Asset Contract Address: